Installation Video
Watch this video on how to install your beautiful new floating shelf! If you need a PDF of instructions, click the button below.
Tree Planting
We plant a tree with every qualifying purchase

Same-Day Shipping
On all bracket orders

Genuine American Craftsmanship
Support products made here at home

You'll find easy to follow instructions, as well as a video, to help you install your beautiful floating shelf
Watch this video on how to install your beautiful new floating shelf! If you need a PDF of instructions, click the button below.
Determine the desired location for your shelf.
With your pencil, mark where the left and right edge of the shelf will be.
Now that you know where the left and right edge of the shelf will be, the next step is to mark, with your pencil, where the center of the shelf will be.
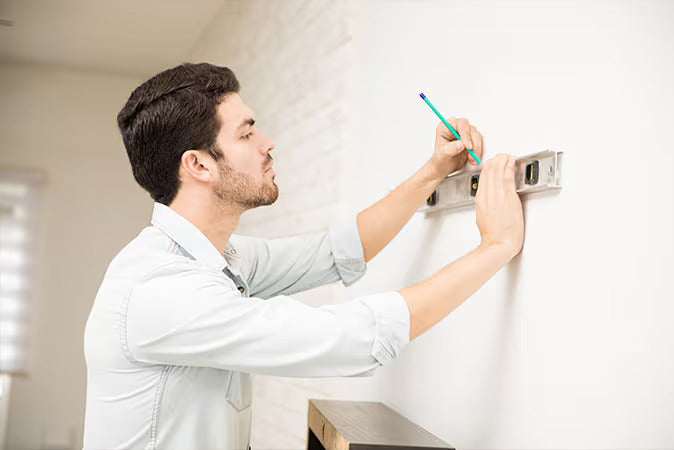
Using a level and pencil, draw a horizontal line marking where the top of the bracket will be.
Using a stud finder and pencil, mark the outside edges of the studs.
Place your bracket on the wall aligning the center of the bracket with the center line you drew from step 3. Then align the top of the bracket with the horizontal line you drew from step 4.
Using a power drill and supplied wood screws, drill the screws into the studs. Note: You only have to drill screws along the top of the bracket.
Slide your shelf onto the bracket and you're all done! Wasn't that simple? Now the fun part - time to style it!
14"x14" Solid Wood Cutting Board
14" Round Solid Wood Cutting Board
20"x14" Solid Wood Cutting Board
21" Round Solid Wood Cutting Board
HANDMADE IN THE USA
HEAVY-DUTY WEIGHT RATING
SOLID HARDWOOD
HEIRLOOM QUALITY